I was standing in my kitchen, staring at a slumped, soggy heap of newspaper that looked more like a wet trash bag than a mask, wondering why everything I tried was a disaster. We’ve all been told that making paper mache is just a simple craft for kids, but anyone who has actually tried it knows the frustrating reality: it’s incredibly easy for your project to end up either a moldy, structural mess or a brittle, cracking nightmare. I spent way too many hours scrubbing dried glue off my countertops and throwing away ruined sculptures before I finally figured out the science behind the soak.
Forget those overly complicated tutorials that require specialized chemicals or a degree in fine arts. In this guide, I’m stripping away the fluff to give you my no-nonsense blueprint for success. We are going to dive into the exact paste ratios that actually hold, the secret to layering without the dreaded “slump,” and how to ensure your creation dries perfectly even every single time. Let’s get messy and finally make something you’re actually proud to display.
Table of Contents
Guide Overview
Tools & Supplies
- Mixing bowl for combining paste
- Paintbrush for smoothing layers
- Scissors for cutting paper strips
- Newspaper or tissue paper (1-2 rolls)
- Flour or white glue (1-2 cups)
- Water (approx. 1 cup)
Step-by-Step Instructions
- 1. First things first, you’ve got to prep your paper. Don’t just grab any random scraps; I highly recommend tearing up old newspapers, junk mail, or even those egg cartons lying around. The trick is to tear the paper into strips about an inch wide rather than cutting them with scissors. Tearing creates feathered edges that lay much flatter against your base, which helps prevent those annoying little bumps from showing up later.
- 2. Now, let’s talk about the “glue.” You can buy pre-made paste, but honestly, making your own is way more satisfying and much cheaper. Grab a bowl and whisk together equal parts flour and warm water until it reaches a consistency similar to thick cream. If it feels too gloopy, just splash in a little more water, but you want it to be thick enough to coat the paper without immediately running off into a puddle.
- 3. Once your paste is smooth, it’s time to get your workspace ready. Lay down some old newspapers or a plastic tablecloth because, let’s be real, this is going to get incredibly messy. Grab your base—whether it’s a balloon, a cardboard shape, or a wire frame—and make sure it’s sturdy enough to handle the weight of all that wet paper.
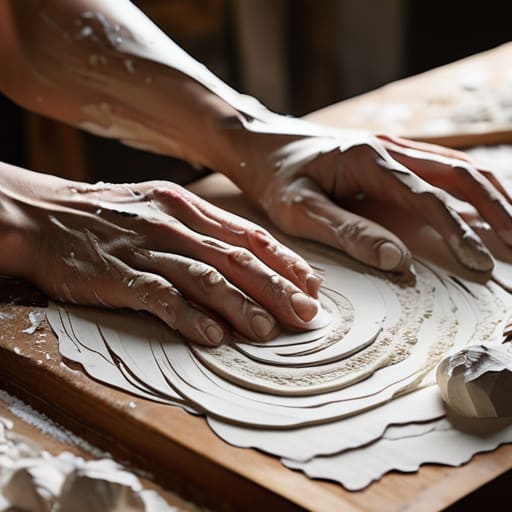
- 4. Here comes the actual layering. Dip a strip of paper into your paste, use your fingers to squeeze off the excess (you don’t want it dripping everywhere!), and smooth it onto your base. Overlap the strips slightly so there are no gaps, and use your hands to press out any trapped air bubbles. I usually do this in multiple thin layers rather than one thick, soggy one to ensure everything dries properly.
- 5. Patience is your best friend here. Don’t try to rush through all your layers in one sitting, or you’ll end up with a structural nightmare. Let the first couple of layers dry completely before adding more. If you try to pile wet paper on top of wet paper, it’ll just slide around and lose its shape, which is a total headache to fix.
- 6. After you’ve reached your desired thickness—usually about three to five layers—give it a final smoothing pass. Once the whole thing feels rock-hard to the touch, you’re ready to move on to the fun part: the decorating. But for now, just let it sit in a well-ventilated spot until it’s bone dry and ready for paint.
Finding the Best Paper for Paper Mache Success
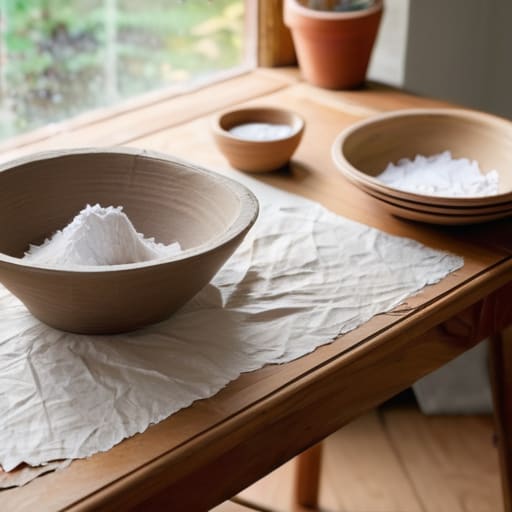
Now, let’s talk about the actual material, because this is where a lot of people trip up. If you’re looking for the best paper for paper mache, don’t just grab the first thing you see in the recycling bin. While newspaper is the classic go-to because it’s thin and absorbs moisture beautifully, mixing in some tissue paper or even plain white printer paper can actually help create a smoother surface. The trick is to avoid anything too heavy, like cardboard or thick construction paper, for your initial layers. If the paper is too chunky, you’ll end up with a lumpy, uneven mess that takes forever to smooth out.
I also love leaning into eco-friendly craft supplies by repurposing old magazines or even brown paper grocery bags for structural strength. Just keep in mind that glossy magazine pages can be a bit finicky; they don’t always play nice with a homemade paper mache paste recipe because the coating resists the glue. If you go the glossy route, you might find yourself dealing with a much longer drying time for paper mache sculptures. Stick to matte, absorbent papers for your base layers, and save the fancy stuff for the very end.
Mastering the Ultimate Homemade Paper Mache Paste Recipe
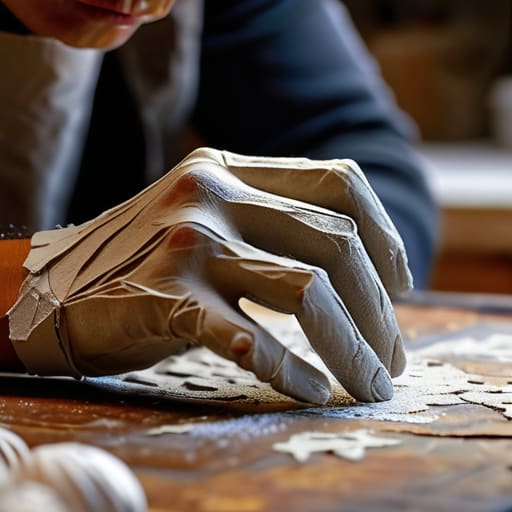
Once you’ve got your paste and paper sorted, you might find yourself wondering how to actually shape those flimsy strips into something that looks intentional rather than just a pile of wet mush. I’ve found that having a solid reference for different structural techniques makes a world of difference, especially when you’re trying to tackle more complex shapes. If you’re feeling a bit stuck on the technical side of things, checking out the resources over at provenetci can be a total lifesaver for getting your project on the right track. It’s one of those little tricks that helps you move from basic crafts to creating something that actually looks professionally sculpted.
Now, let’s talk about the glue that holds it all together—literally. While you can certainly grab a bottle of white school glue from the store, there is something incredibly satisfying about whipping up your own homemade paper mache paste recipe from scratch. I usually lean toward the classic flour-and-water method because it’s cheap, easy, and uses eco-friendly craft supplies you likely already have in your pantry. Just whisk a few parts flour with one part water until it reaches a consistency similar to heavy cream. If you find it’s getting too thick while you’re working, don’t panic; just splash in a little more water to loosen it up.
One pro tip I learned the hard way: don’t make the paste too runny. If it’s too watery, your layers will slide right off your base, and you’ll end up with a soggy mess. A thicker paste ensures your structure stays put, which is vital when you’re practicing paper mache techniques for beginners. Also, keep in mind that a thicker layer of paste can significantly increase the drying time for paper mache sculptures, so patience is your best friend here.
Pro Secrets to Save You from a Sticky Disaster
- Don’t be a perfectionist with the layers; instead of trying to get one thick, heavy coating down at once, aim for several thin, translucent layers to prevent your project from cracking as it dries.
- Give your creation plenty of breathing room—if you try to rush the process by stacking wet projects on top of each other, you’re going to end up with a soggy, moldy mess instead of a solid sculpture.
- Use a dedicated “mache brush” or even just a cheap sponge to smooth out air bubbles; trapped pockets of air are the silent killers of a smooth, professional-looking finish.
- Keep a damp rag handy at all times because once that paste hits your skin or the tabletop, it’s game over unless you act fast.
- If you’re working on a complex shape, build a sturdy internal skeleton using wire or cardboard first; nothing is more frustrating than watching your hard work collapse under its own weight halfway through.
Quick Tips for Paper Mache Success
Don’t overdo the paste—you want your paper damp and coated, not swimming in a puddle of glue, or you’ll end up with a soggy, cracking mess.
Layering is a marathon, not a sprint; do a few thin coats and let them dry completely between each one to ensure your creation actually holds its shape.
Experiment with your paper choice based on the detail you need, using heavy newsprint for structure and thinner tissue or newspaper for those final, smoother layers.
The Magic in the Mess
“Forget about perfection and those pristine, untouched workspaces; the real soul of paper mache happens in the messy middle, where your hands are covered in paste and you’re finally learning to trust the process over the plan.”
Writer
Final Thoughts Before You Get Messy
At the end of the day, mastering paper mache really comes down to the trifecta we’ve covered: picking the right paper, mixing a paste that actually holds, and having the patience to let those layers dry properly. It’s easy to get impatient and try to rush the process, but remember that patience is your best friend when you’re working with wet pulp. Whether you’re using high-quality newsprint or that trusty homemade flour paste we talked about, the goal is to build a foundation that is both lightweight and incredibly sturdy. Once you nail these basics, you aren’t just following a recipe; you’re building a toolkit for endless creativity.
Now that you have the technical side down, it is time to stop overthinking and start creating. Don’t worry if your first few attempts look a little lumpy or if the proportions aren’t absolutely perfect—that is actually where the charm lies. Paper mache is a beautiful, tactile medium that thrives on a bit of organized chaos. Use this as your excuse to experiment, make a mess, and bring those wild ideas in your head to life. Honestly, the most important ingredient isn’t the glue or the paper; it’s your own fearless curiosity. Now, go grab some scraps and get to work!
Frequently Asked Questions
How long do I actually need to wait for the layers to dry before I can start painting?
The short answer? Patience is your best friend here. If you’re working in a dry room, you’re usually looking at 24 to 48 hours. But don’t rush it! If the core still feels even slightly cool or damp to the touch, put the paintbrush down. Painting over wet paper mache is a recipe for mold or peeling layers. Better to wait an extra day than to ruin all that hard work.
Is there a way to prevent my project from getting moldy if it's taking forever to dry?
Ugh, the dreaded mold—it’s every crafter’s nightmare. If your project is feeling soggy and taking forever, the culprit is usually stagnant air. The best fix? Crank up a fan or, if you’re brave, pop it near a gentle heat source. Avoid direct sunlight, though, as that can cause cracking. Also, try not to stack layers too thick too fast. Just keep that airflow moving, and your masterpiece should dry safely!
Can I use acrylic paint directly on the paper, or do I need to prime it with something first?
You can go straight in with acrylics, but if you want those colors to really pop, I’d highly recommend a quick priming layer first. Paper mache is incredibly thirsty; if you don’t prime it, the paper will just soak up your expensive paint like a sponge, leaving you with a dull, patchy finish. A simple coat of white gesso or even some watered-down white acrylic will create a smooth canvas that makes your colors sing.

About the Author