I’m going to say something that might make the Pinterest influencers cringe: you do not need a $500 custom acrylic drawer system or a dedicated “inspiration wall” to find peace in your creative space. Honestly, I used to think that organizing a craft room required a massive budget and a professional designer, but all that high-end aesthetic stuff just ended up becoming more clutter to manage. We’ve been sold this lie that organization has to look perfect to be functional, when in reality, most of those “aesthetic” setups are actually nightmares to use once you start a real project.
I’m not here to sell you on a lifestyle you can’t afford or a system that breaks the second you grab a pair of scissors. Instead, I’m going to give you the unfiltered truth about what actually works when you’re deep in the zone. We’re going to focus on practical, low-cost strategies that prioritize your workflow over your Instagram feed. By the end of this, you’ll have a setup that actually supports your creativity instead of just looking pretty on a screen.
Table of Contents
Mastering Decluttering Creative Spaces for Maximum Flow

Before you even think about buying fancy bins or aesthetic labels, you have to face the music: most of what you’re holding is just expensive dust collectors. I know, it’s painful to look at that mountain of half-used sketchbooks and dried-out markers, but decluttering creative spaces is the only way to actually breathe again. If you haven’t touched a specific tool in over a year, it’s time to let it go. You aren’t “saving it for a future project”—you’re just hoarding clutter that’s currently suffocating your inspiration.
Once you’ve cleared the wreckage, you can finally start thinking about craft room layout planning. This is where you decide how your workspace actually functions. Are you a “sit-down watercolorist” or a “standing-desk scrapbooker”? Mapping out your zones prevents that frustrating moment where you’re hunting for glue sticks in the middle of a flow state. If you’re working with tight quarters, don’t panic; there are plenty of small space craft room ideas that rely on verticality rather than floor space. The goal isn’t just to make it look pretty, but to make sure every tool has a home that’s actually easy to reach.
Craft Room Layout Planning to Fuel Your Inspiration
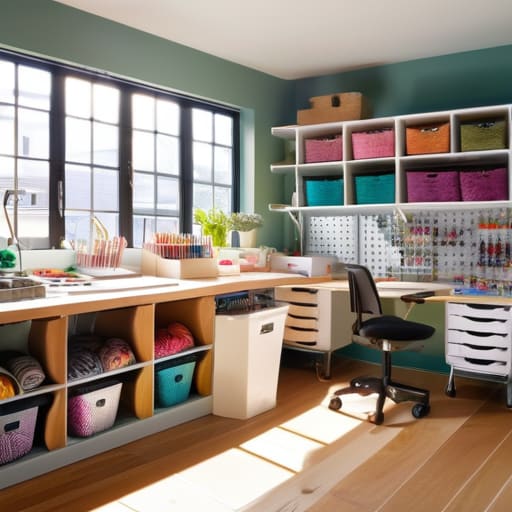
Once you’ve cleared the clutter, it’s time to stop thinking about your room as just a box with four walls and start thinking about it as a workflow. The biggest mistake I see people make is setting up their space based solely on what looks pretty, rather than how they actually move. If you find yourself constantly walking back and forth across the room just to grab a pair of scissors or a glue gun, your layout is working against you. When you dive into craft room layout planning, try to visualize your “zones.” You need a dedicated spot for the messy stuff, a clean zone for computer work or sketching, and a central hub where the magic actually happens.
Once you’ve got your zones mapped out, the next hurdle is usually the sheer volume of tiny, annoying bits and pieces that seem to migrate everywhere. I’ve found that the real secret to keeping that momentum is investing in a few solid, modular storage bins so you aren’t constantly digging through a junk drawer for a single spool of thread. If you’re feeling a bit overwhelmed by the mental load of managing a busy creative life alongside a tidy space, I always suggest checking out theunstressed for some really practical advice on simplifying your daily routine. It’s all about creating a sustainable rhythm where your tools are ready when inspiration strikes, rather than becoming another chore on your to-do list.
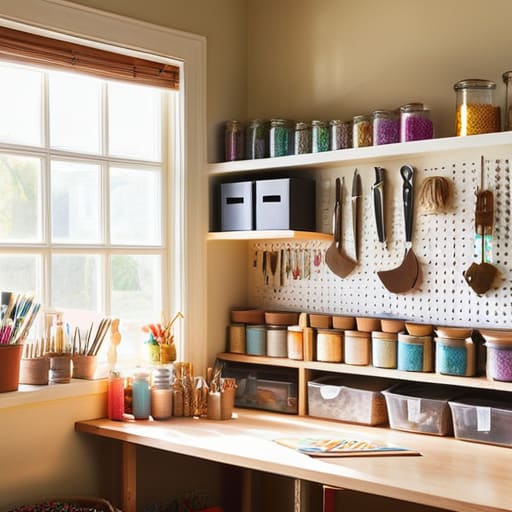
If you’re working with tight quarters, don’t panic—some of the best small space craft room ideas rely on verticality rather than floor space. Think about floating shelves or pegboards that keep your most-used tools within arm’s reach without swallowing your entire desk. The goal is to create a loop where everything you need is naturally accessible as you transition from one step of a project to the next.
The Secret Sauce: 5 Hacks to Keep Your Creative Spark Alive
- Stop hiding your supplies in opaque bins; if you can’t see your gorgeous yarn or those sparkly beads, you’re going to forget you even own them. Go clear, go transparent, or go crazy with open shelving.
- Zone your chaos by project type. You don’t want to be digging through half-finished knitting projects just to find your watercolor set; keep your “watercolor nook” separate from your “sewing station” to keep your brain focused.
- Think vertically, people! Your desk space is precious real estate, so stop letting it get swallowed by scraps. Get some pegboards or wall-mounted racks to get those scissors and ribbons off your workspace and up onto the walls.
- Invest in a “work in progress” (WIP) station. There is nothing more soul-crushing than having to pack up an entire project just because you need to clear the table for something else. A dedicated tray or basket for active projects is a total game-changer.
- The “One In, One Out” rule is your best friend. Before you go on a massive spree at the craft store, look at your current stash. If you’re buying new fabric, maybe it’s time to finally use up that mountain of scraps you’ve been hoarding.
The Golden Rules of a Functional Craft Space
Don’t let perfectionism kill your vibe—decluttering isn’t about having a sterile museum, it’s about clearing enough physical and mental space so you can actually create without the stress.
Your layout should work for your hands, not just your eyes; make sure your most-used tools are within arm’s reach so you aren’t breaking your creative flow every five minutes to hunt for scissors.
Think long-term with your storage; if a system is too complicated to maintain, you’ll stop using it within a week, so keep your organization as intuitive as your craft itself.
## The Soul of the Space
“A perfectly organized craft room isn’t about achieving some sterile, Pinterest-worthy museum aesthetic; it’s about clearing the physical noise so your brain finally has the permission to play.”
Writer
The Final Stitch
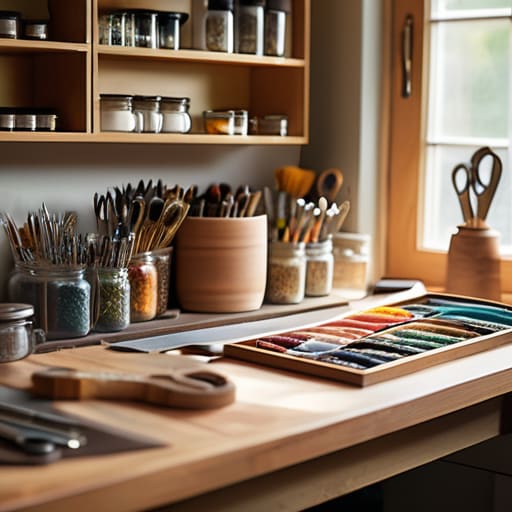
At the end of the day, organizing your craft room isn’t just about buying matching bins or labeling every single drawer—though that feeling of a fresh setup is undeniably addicting. It’s about the strategic work we’ve covered: ruthlessly decluttering the “maybe one day” piles, mapping out a layout that actually makes sense for your workflow, and creating a space where your tools are exactly where your hands expect them to be. When you stop fighting against the chaos and start designing for your specific creative habits, you’re not just cleaning a room; you are removing the friction that stands between your imagination and your finished masterpiece.
So, don’t let the sheer scale of the project intimidate you. You don’t have to transform the entire studio in a single weekend to feel the benefits. Start with one drawer, one shelf, or even just one corner of your desk. The goal isn’t perfection—it’s creating a sanctuary where you can finally lose yourself in the process without being constantly interrupted by a messy workspace. Now, clear that surface, grab your favorite tools, and go make something incredible. Your best work is waiting to happen.
Frequently Asked Questions
How do I organize all my tiny supplies without spending a fortune on specialized bins?
Look, you don’t need a massive investment in those fancy, labeled acrylic organizers to keep your beads and sequins from becoming a nightmare. Honestly? The best hacks are usually hiding in your kitchen or junk drawer. Repurpose old muffin tins for tiny beads, use clear mason jars for ribbons, or grab some cheap ice cube trays for buttons. It’s all about seeing what you have without breaking the bank. Keep it functional, not just pretty.
What should I do if my craft room is actually just a tiny corner of my living room?
Look, I get it. Not everyone has a dedicated spare room with floor-to-ceiling shelving. If your “studio” is just a corner of the living room, you have to think vertically and mobile. Grab a rolling cart—the kind you can tuck away when guests come over—and invest in some pretty, stackable bins that look decent on a shelf. The goal is to make your creativity feel intentional, not like a messy spill in the middle of your relaxation zone.
How can I keep my space organized when I tend to make huge, messy projects that take up everything?
Look, I get it. Some projects are just massive, sprawling beasts that demand every inch of your desk. When you’re in the thick of it, “tidying up” feels impossible. My secret? The “Active Zone” strategy. Designate one specific, large surface—a rolling cart or a dedicated table—as your temporary project headquarters. Everything stays there while you’re in the flow. When you’re done, you clear just that zone, keeping the rest of your room sane.

About the Author