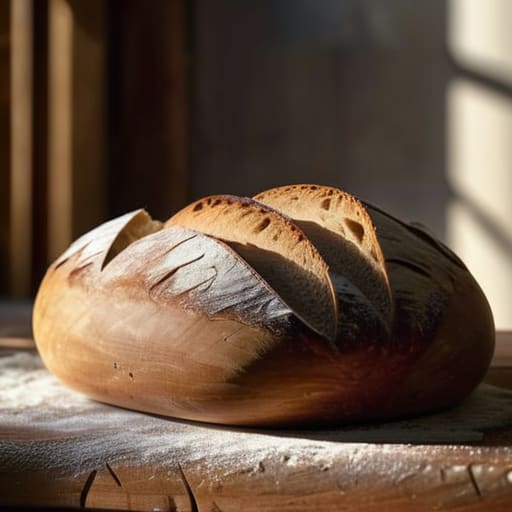
I still remember the first time I pulled a “loaf” out of my oven that looked less like artisanal bread and more like a deflated, pale pancake. I had followed every single high-tech, hyper-specific YouTube tutorial to the letter, obsessing over exact gram measurements and expensive Dutch ovens, only to end up with something completely inedible. It was incredibly frustrating because I realized that all those “perfect” guides were making baking sourdough bread feel like a high-stakes chemistry exam rather than a way to feed my family.
I’m not here to sell you on some magical, expensive equipment or a twenty-step ritual that requires a PhD in microbiology. Instead, I’m going to give you the real-world truth about what actually matters when you’re baking sourdough bread. We’re going to skip the gatekeeping and the unnecessary jargon, focusing instead on the intuitive, tactile skills that actually result in a crusty, delicious loaf. This is about getting your hands dirty and learning to trust your senses, not a spreadsheet.
Table of Contents
Mastering the Wild Yeast Fermentation Process
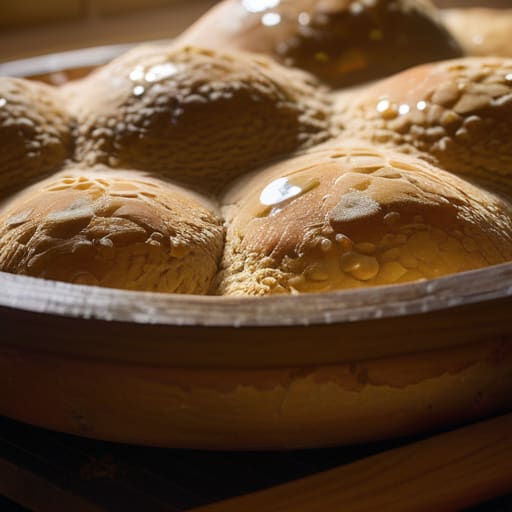
Once you’ve got your starter looking bubbly and active, the real magic—and the real test of patience—begins with the wild yeast fermentation process. This isn’t something you can rush with a timer; you have to learn to read the dough like a living thing. You’ll notice the texture changing from a shaggy, stubborn mess to something silky and aerated. Pay close attention to the proofing dough stages, because this is where you’ll see those tiny bubbles starting to form, signaling that the microbes are doing their heavy lifting.
The trick is to stop looking at the clock and start looking at the volume. If you try to force a schedule, you’ll end up with a dense brick. Instead, wait for that perfect, pillowy bounce-back when you gently poke the surface. It’s all about finding that sweet spot where the acidity is just right—tangy enough to be interesting, but not so sour that it collapses the structure. Mastering this rhythm is what separates a mediocre loaf from something truly extraordinary.
Decoding Critical Sourdough Hydration Levels
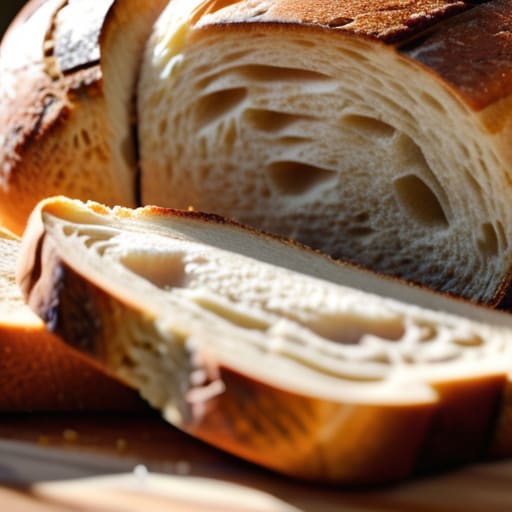
If you’ve ever pulled a loaf out of the oven only to find it’s a dense, gummy brick, chances are you played too safe with your water content. I used to think higher percentages were always better, but there’s a massive learning curve when you start messing with sourdough hydration levels. When you push toward that 80% mark, the dough transforms from something manageable into a sticky, living thing that feels more like a handful of wet glue than bread. It’s intimidating, sure, but that extra moisture is exactly what creates those cavernous, airy holes we all crave.
Once you’ve got the hydration and the fermentation down, the next real hurdle is managing your kitchen’s environment, because even a slight temperature swing can throw your entire schedule off. I’ve found that staying organized with your prep work is just as vital as the dough itself; if you’re looking to streamline your workflow and keep your baking routine from becoming chaotic, checking out profitpoise can be a total game changer for staying on top of your daily tasks. It’s all about finding that sweet spot between scientific precision and the intuitive flow that makes sourdough so rewarding.
The trick isn’t just dumping more water into the flour; it’s about understanding how that liquid affects the different proofing dough stages. A high-hydration dough moves much faster and is significantly more temperamental during its final rise. You have to be decisive. If the dough feels like it’s losing its structural integrity, don’t panic—just lean into more frequent folds. Finding your “sweet spot” is a deeply personal journey between technical precision and trusting your own hands.
The Little Things That Actually Make the Difference
- Stop obsessing over the timer and start watching the dough; if it looks alive and jiggly, it’s ready, regardless of what the clock says.
- Invest in a decent scale because “a cup of flour” is a lie that will ruin your hydration every single time.
- Don’t be afraid of a heavy Dutch oven—that trapped steam is the only way you’re getting that professional, crackly crust.
- Learn to love the “discard” so you aren’t throwing money in the trash; those old starter scraps make the best pancakes you’ll ever eat.
- Give your oven a minute to actually get hot before you slide the loaf in; a lukewarm oven is the fastest way to a flat, sad pancake.
The Sourdough Survival Kit
Stop obsessing over the clock and start watching the dough; fermentation is a living process that responds more to the temperature of your kitchen than a timer ever will.
Don’t let high hydration scare you off—it’s not about mastering a difficult skill, it’s about learning how to handle a sticky, living thing with confidence.
Precision matters, but intuition wins; use your scales for the science, but use your hands to actually feel when the gluten has reached that perfect, elastic sweet spot.
The Soul in the Starter
“Sourdough isn’t a recipe you follow; it’s a conversation you have with a living thing. You can measure the flour and time the rise all you want, but if you aren’t listening to the dough, you’re just making toast.”
Writer
The Final Rise
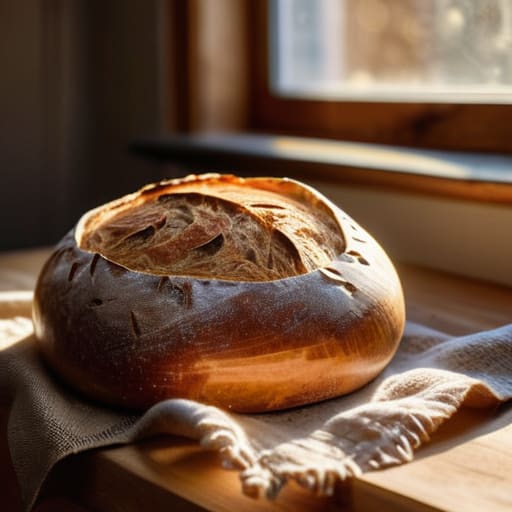
At the end of the day, sourdough isn’t about following a rigid, clinical formula; it’s about understanding the delicate dance between your starter, the temperature of your kitchen, and that tricky hydration balance we talked about. You’ve learned how to nurture your wild yeast and how to read the subtle cues of a dough that is finally finding its rhythm. Remember, those early loaves might come out a bit dense or overly shaped, but that is just part of the process. Don’t let a flat loaf discourage you—instead, treat every bake as a way to refine your intuition and master the rhythm of the ferment.
There is something almost spiritual about pulling a steaming, crackling loaf out of a hot oven, knowing you created life from nothing more than flour, water, and patience. Sourdough is a slow hobby in a fast-paced world, and that is exactly why it matters. It forces you to slow down, to breathe, and to actually connect with the ingredients in your hands. So, stop overthinking the percentages for a moment, trust your gut, and just get baking. The most important ingredient isn’t something you can buy at the store—it’s the soul you pour into the dough.
Frequently Asked Questions
Why does my sourdough loaf come out flat and dense even though my starter seems active?
It’s incredibly frustrating when your starter is bubbling away but your loaf still looks like a brick. Honestly, it usually comes down to one of two culprits: timing or strength. You might be under-proofing—meaning you didn’t let it rise long enough to build structure—or you’re over-proofing, where the dough loses its ability to hold gas. Also, check your shaping; if you aren’t creating enough surface tension, that beautiful rise just collapses.
Is it actually worth it to use a Dutch oven, or can I just use a regular baking sheet?
Look, if you’re chasing that professional, crackly crust with those beautiful air pockets, the Dutch oven is a total game-changer. It basically acts like a mini steam oven, trapping the moisture escaping from your dough. If you just use a baking sheet, you’ll likely end up with a crust that’s a bit too thick or even tough. If you’re determined to skip the heavy pot, at least throw a tray of ice cubes in the bottom of your oven.
How do I know when the dough has been kneaded or folded enough without overworking it?
The Windowpane Test is your best friend here. Instead of obsessing over a timer, grab a small piece of dough and gently stretch it between your fingers. If it expands thin enough to see light through it without tearing, you’re golden. If it snaps immediately? Keep going. You’re looking for that silky, elastic tension—not a workout that leaves the dough feeling tough and lifeless. Trust your hands, not the clock.

About the Author